Home / Rutland Cycling | Bike Maintenance
Rutland Cycling | Bike Maintenance
by Will Crump
Essential checks to complete before starting a ride
In an ideal world, your bike would feel exactly the same as it did on the previous rides and when it was new… if only that was the case. Bicycle maintenance is often regarded as being a chore, an inconvenience or a waste of time. However, the more time you spend caring for your new bicycle, the longer the components are going to last meaning that you will inevitably get more time on the bike. Anyway, isn’t spending more time with your bike a good thing?
In this guide, we will progressively work through the short and simple list of checks to complete to ensure that your bike is: safe to ride, running efficiently and sounding healthy before every ride. Many riders often believe that bicycles only need maintenance and servicing every year, this is somewhat true but you wouldn’t want a bigger bill than necessary at the end of every year due to lack of upkeep.
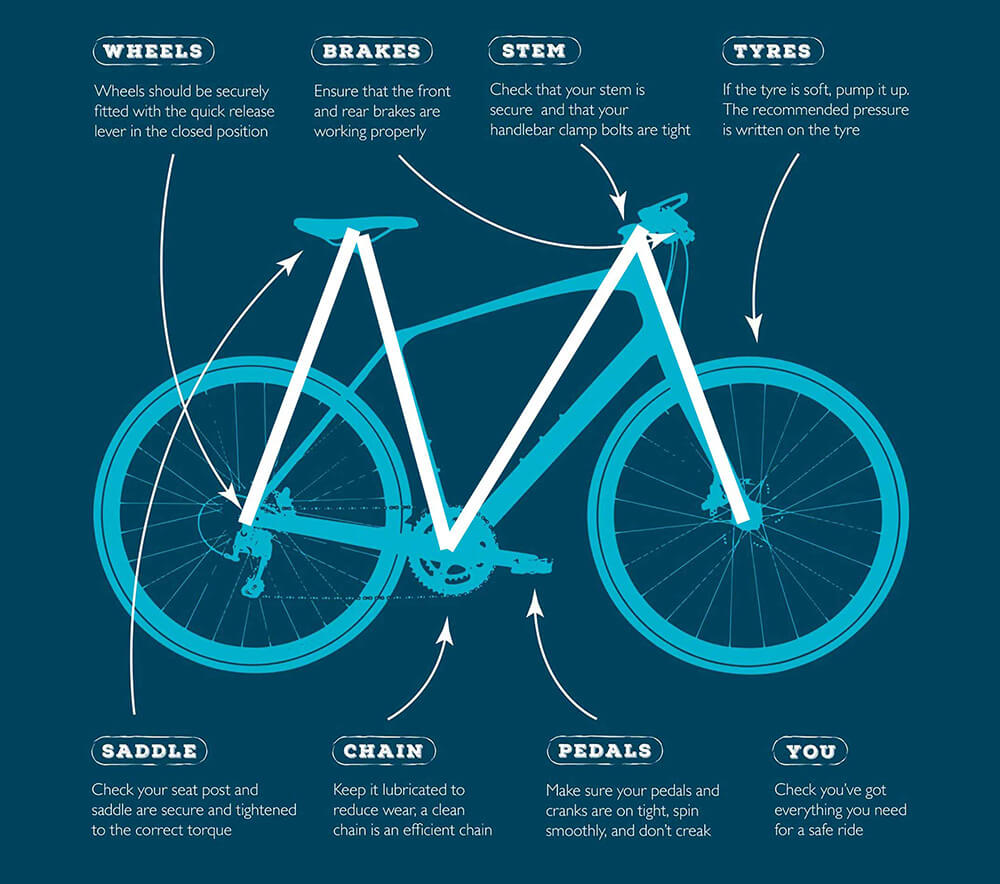
The 'M' Check
The ‘M’ check is the key to unlocking a stress-free ride… the objective is to work across your bike in an ‘M’ shape checking all of the key areas as you go. By starting at the rear and working forwards strategically you can be confident in having the best cycling experience every ride.
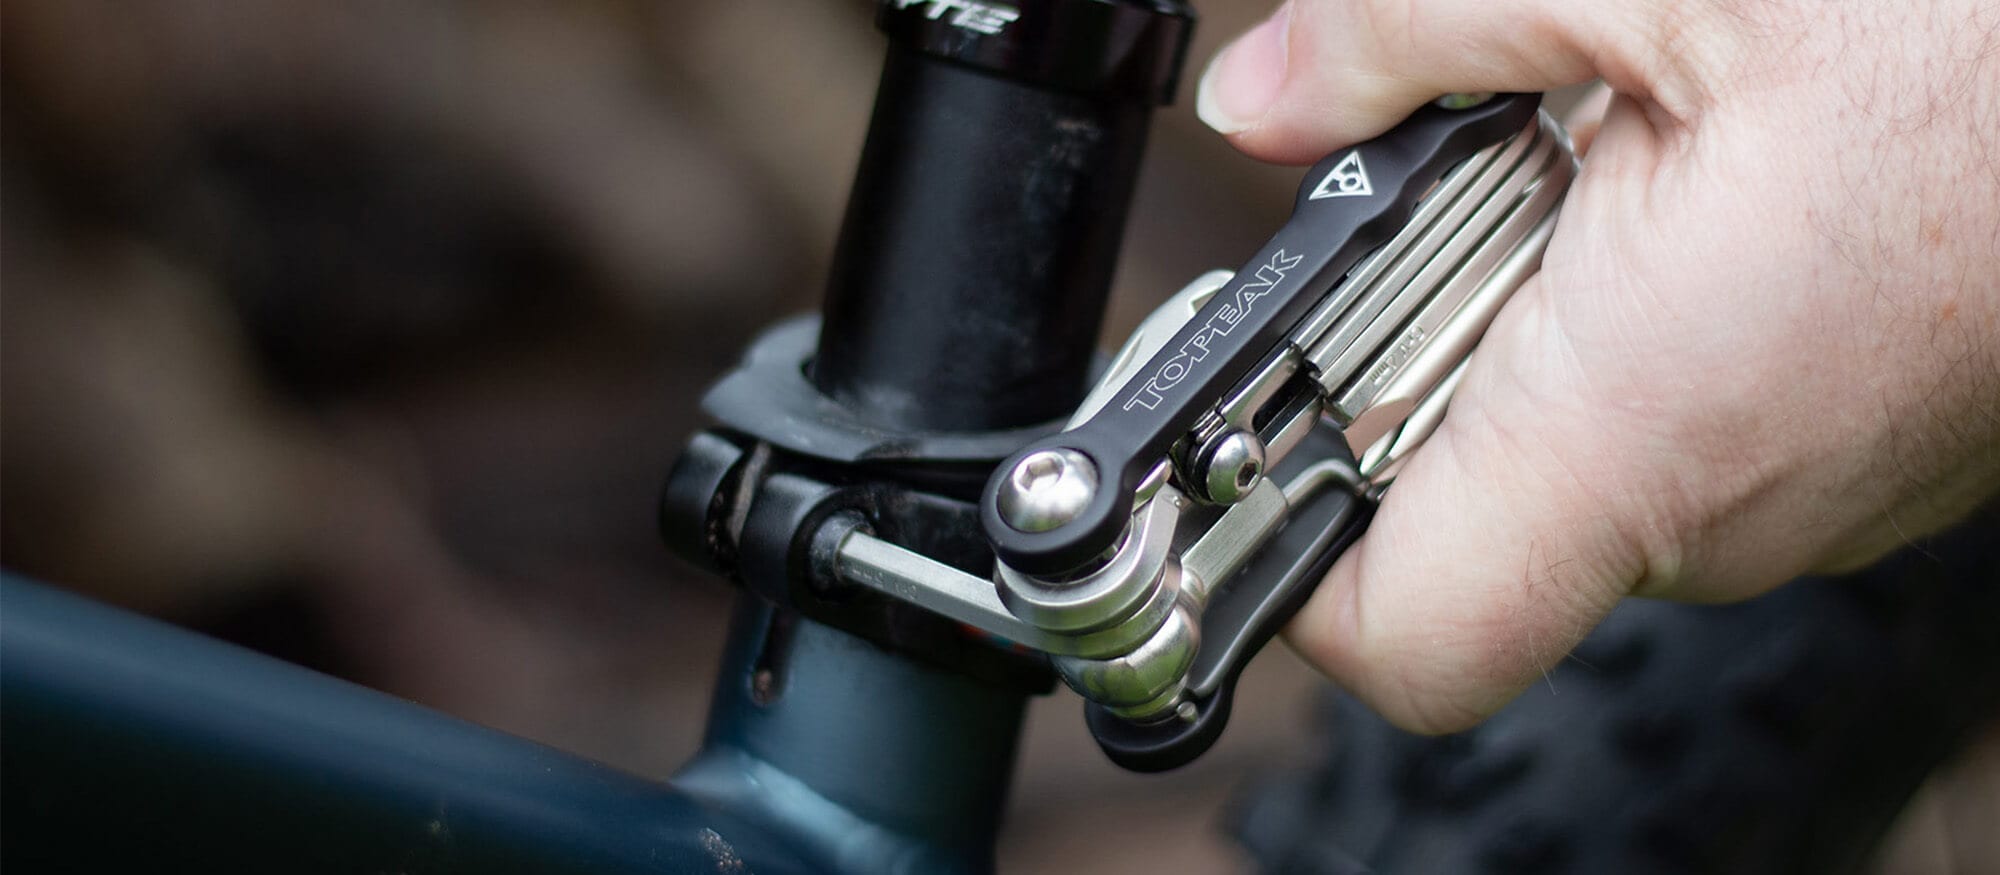
Essential Tools –
– A set of Allen keys.
– A good Multi-tool.
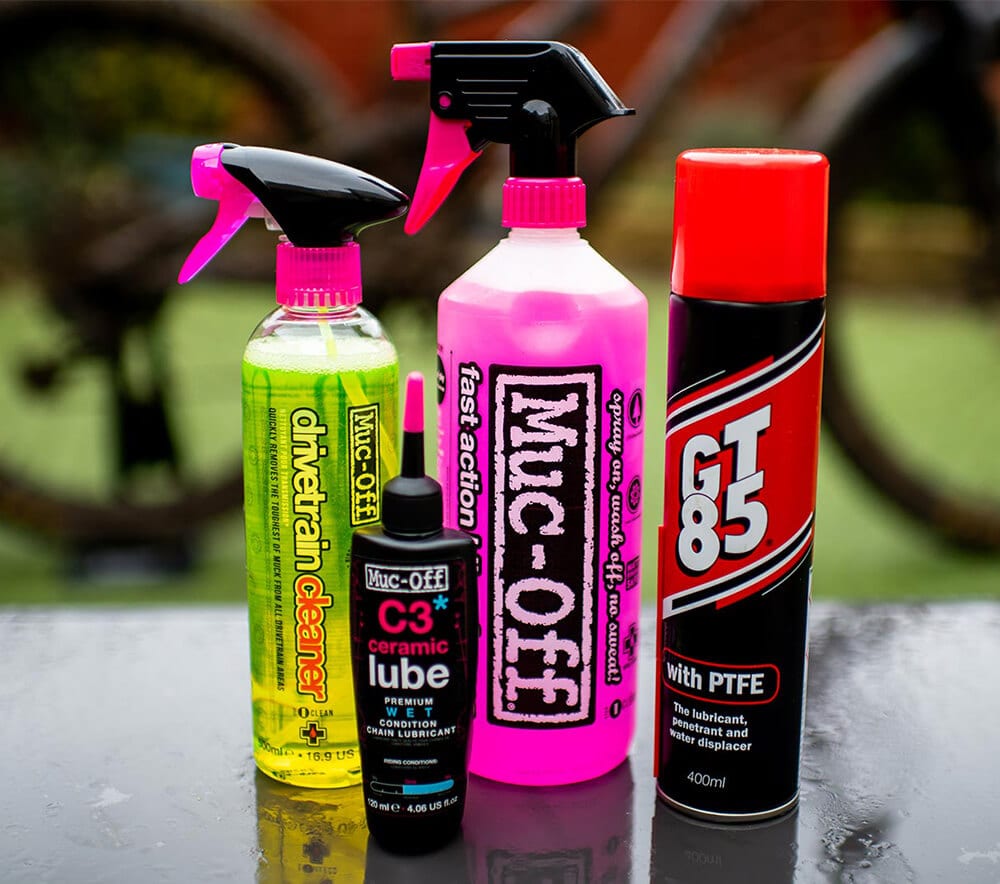
– An array of Lubricants and Maintenance sprays.
– A Pump.
– A Torque Wrench.
1. Rear Wheel
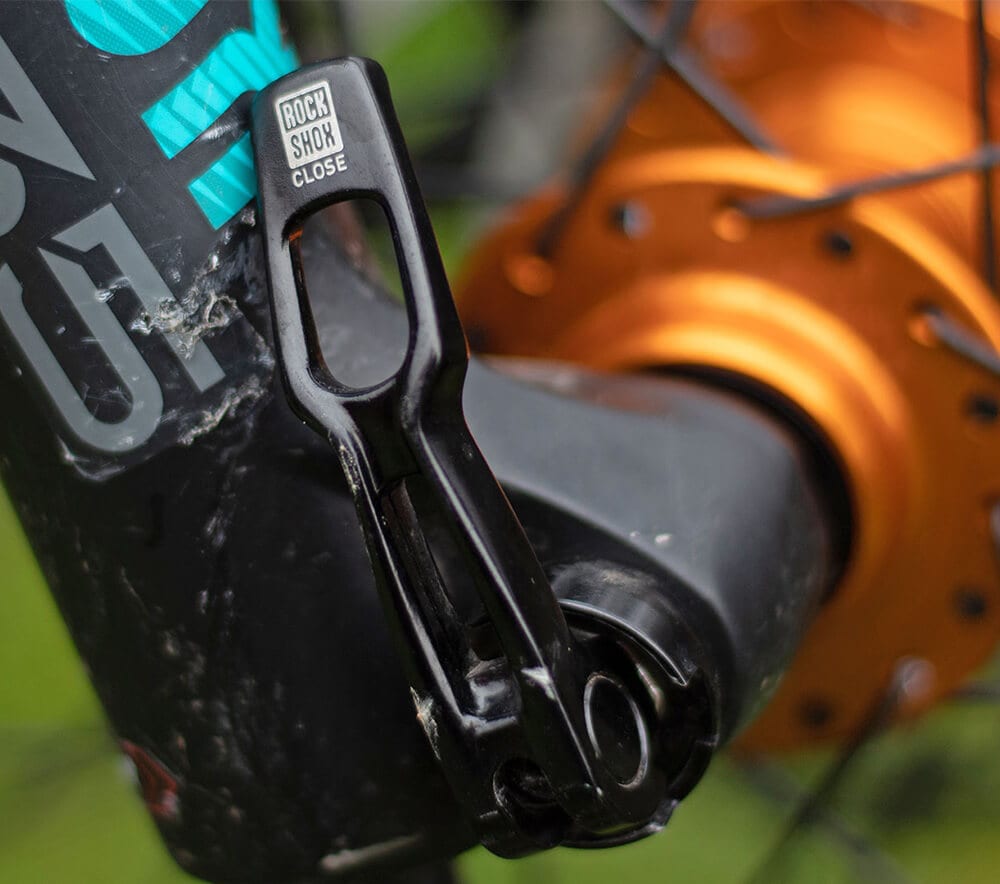
The rear wheel should be fitted securely with the quick release position in the closed position (if applicable). If you experience any lateral movement when you gently shake the rear wheel then it is worth undoing the lever fully and trying to secure it a second time – if the lateral movement continues then it is probably a sign that your wheel bearings are on the way out and therefore unsafe to ride.

2. Tyres
Checking your bike’s tyre pressures before a ride is essential…not having the correct amount of pressure in your tyres can cause all sorts of problems. If you are unsure as to what pressures your tyres should be, you can quickly check as most tyre manufacturers write the PSI range on the sidewalls. If your tyre falls under the recommended pressure then quickly attach your pump onto the valve, lock it and start pumping it up.
Whilst checking your tyre PSI, it might be a good time to quickly check around your tyre for any large cuts or bulges which could be a sign of a defective tyre. If this is the case, sourcing and fitting a new tyre would be advised as soon as possible.
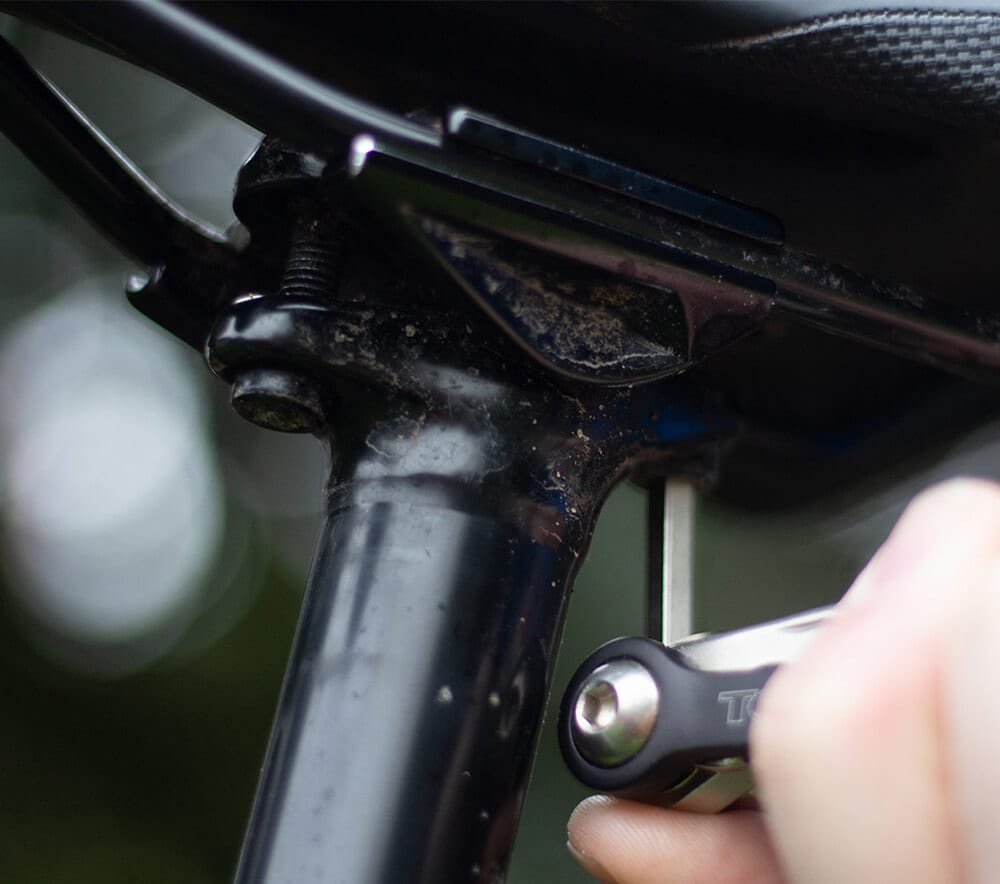
3. Saddle & Seatpost
Moving up from the rear wheel, the next stop on the ‘M’ check is to examine your saddle positioning. This one is quite an easy check… simply make sure that your saddle does not exceed the limit marked on the seatposts as this can cause it to snap. As well as this, check that your saddle is securely attached to the seatpost by double checking the bolts on the underside of the saddle with a set of allen keys.
On our journey downwards, it is always good to ensure that your seatpost is securely fastened to the frame as well as not exceeding the maximum limit line. If your seatpost is exposed beyond the maximum line it could put significant stress onto the frame to the point where it could snap.

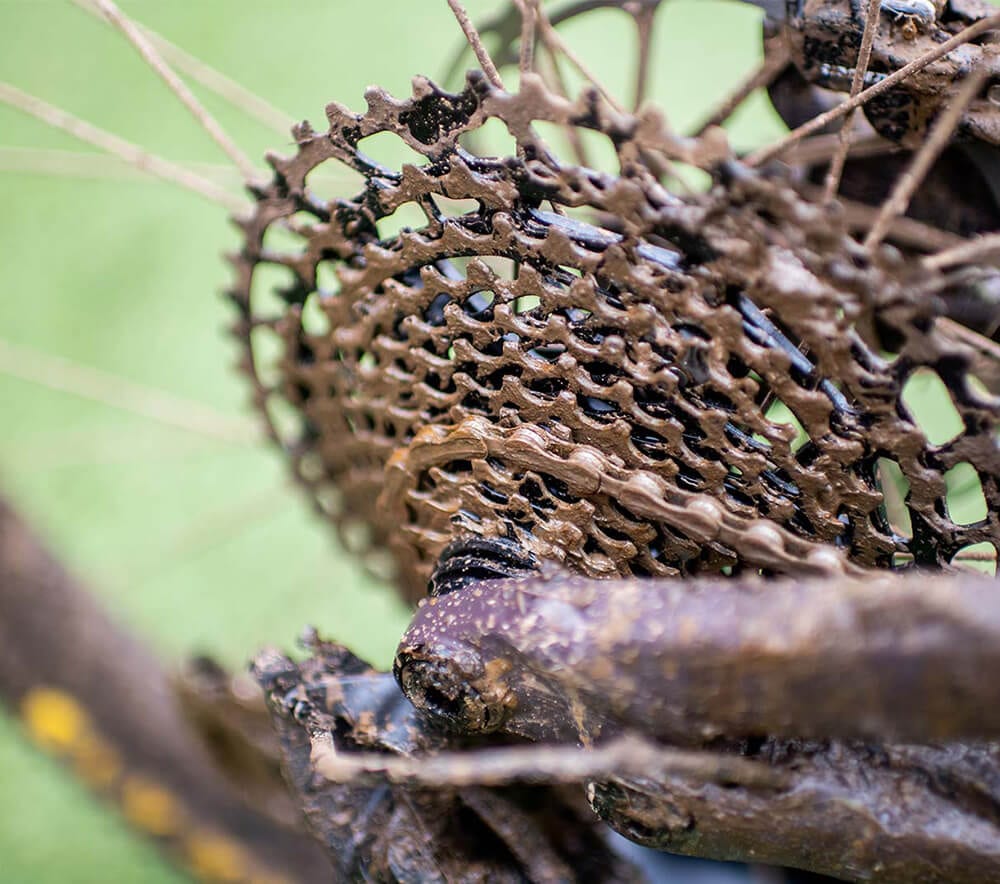
4. Chain care
As we move down to the bottom bracket, it is important to check on our chain. Many people believe that if you keep slapping oil on it every few months then the chain will be fine. However, to keep your chain healthy, running smoothly and to get the longest lasting life out of it, we recommend that you lubricate it every 2 weeks or 200 miles (whichever comes first).
If your chain sounds gritty then it is probably a sign that your chain iis over lubricated and starting to get filthy with grit although, if your chain is starting to squeak and rust then you definitely need to lubricate it or replace it if it’s gotten very bad. Dry lube is often a better solution for the summer months whereas Wet Lube is a good chain lubricant for the winter months due to its added protection in wet and muddy conditions.
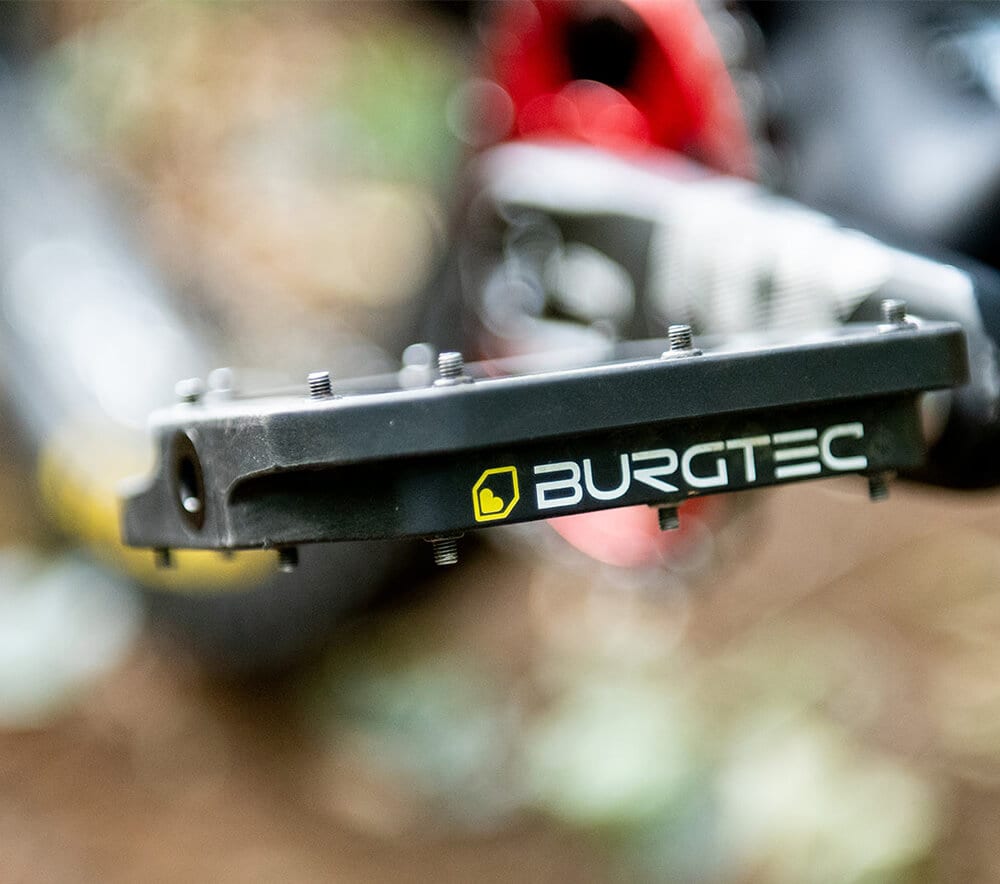
5. Crank & Pedals
The next step on your bike maintenance checklist is to inspect the pedals and make sure they’re securely attached to the bike and not cross threaded. (Cross threading is when the threads on a bolt are no longer centre and start to cut into the opposite thread). If your pedals spin quite fast or creak then it is a sign that your pedal bearings are starting to wear out and need to be replaced.
Furthermore, it is always good to check that there is no lateral movement on the cranks. If you experience lateral movement, it often means that the torque on the crank bolt is not high enough and therefore is causing serious damage to both your cranks and BB everytime you complete a rotation. If you notice any movement then it is highly advised to investigate the issue plus torquing up your crank bolts.
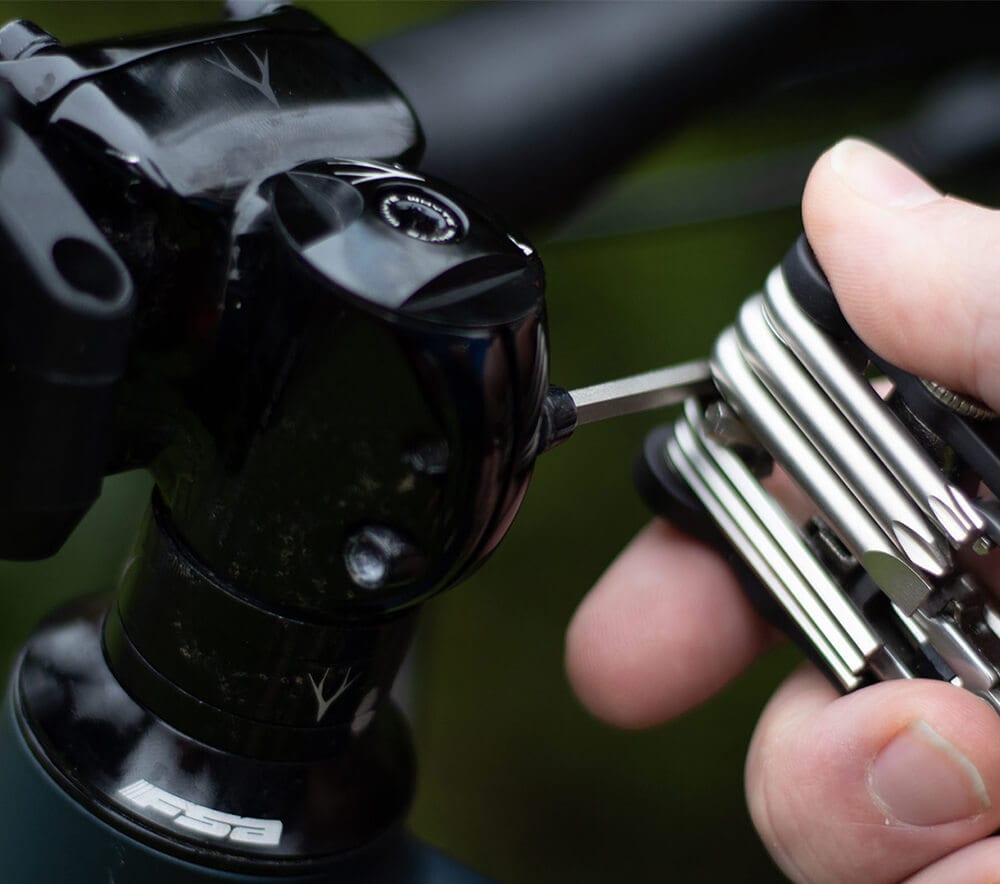
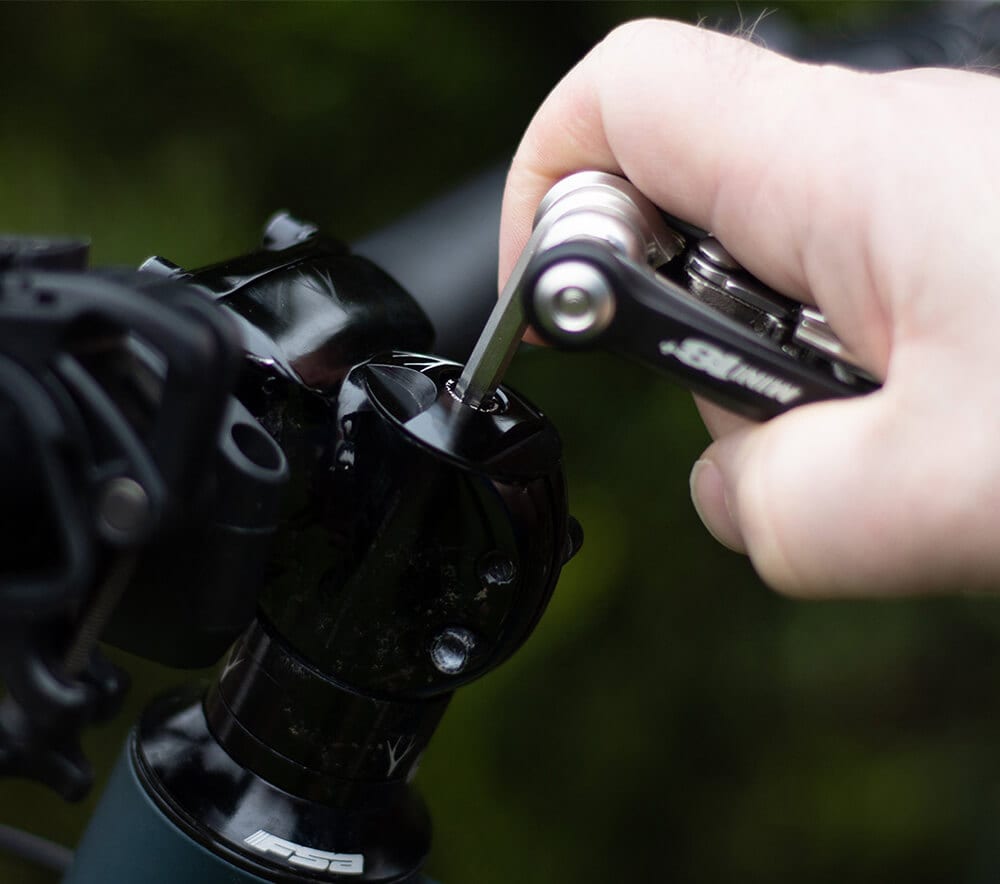
6. Stem & Cockpit
Now at the front of the bike, the first step is to check that all the bolts on your stem are secure and torqued up to manufacturers specification. Failing to have your stem bolts to the correct torque can result in a pretty harsh crash that could have been avoidable.
Usually, there are 2 bolts at the back of the stem that clamp onto the fork steerer tube. Alongside this, you will find 4 bolts at the front of the stem where it meets the handlebar, these are key when it comes to preventing the handlebars from rotating forwards or backwards.
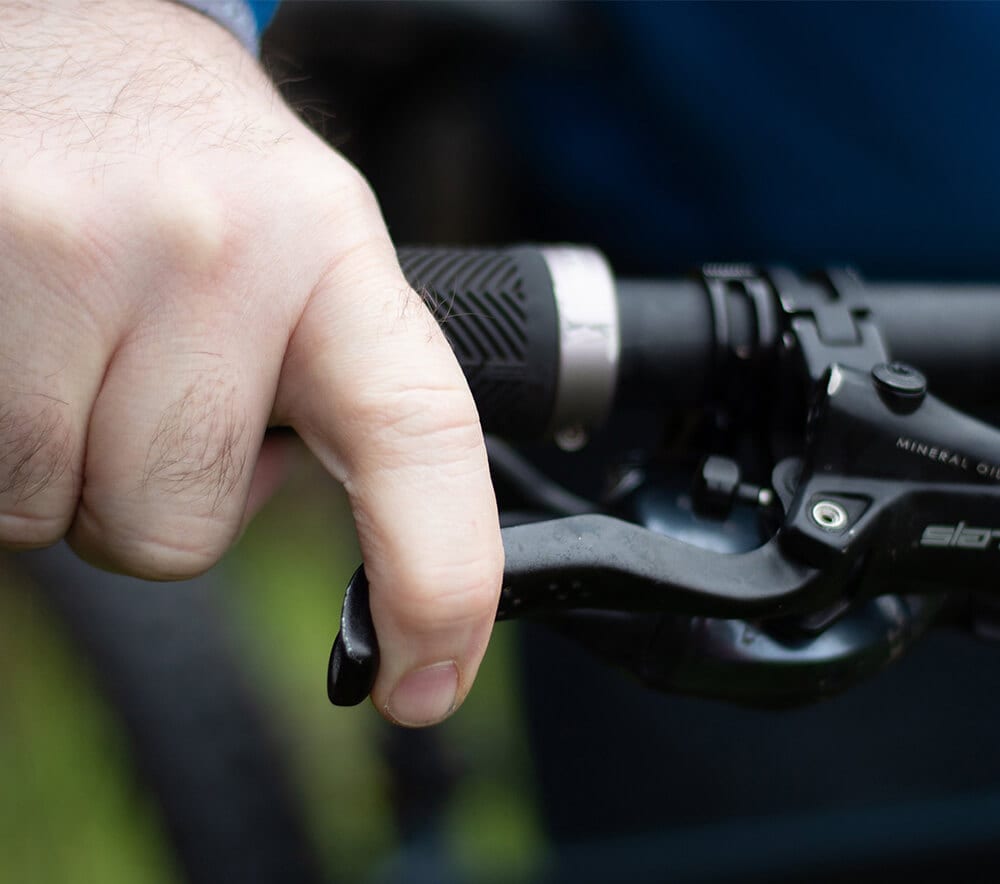
7. Brakes
Whilst we are still around the cockpit of the bike, make sure to always check your brakes before setting off on your ride. If your brake levers pull all the way to the bars, then it either needs bleeding if it’s a hydraulic disc brake or cable adjustment if it is a mechanical brake system.
How to adjust your brakes?
If they are mechanical, loosen the brake anchor bolt, pull the cable tighter and then tighten the anchor bolt again. If your pistons and brake pads aren’t touching the disc rotor, then undo the caliper bolts slightly so the brake caliper is loose, squeeze the brake and tighten the bolts again.
On mechanical brakes, you also have the option to adjust the pistons manually by using the adjustment bolt on the side of the caliper which can often be moved using an allen key – the same applies for V-Brakes.
8. Headset
The headset are 2 sets of bearings located where the fork meets the frame at the bottom and where your stem meets your frame. The bearings are often sealed units but we can guess where they are as there is often a spacer sat above them. To check if your headset is loose simply apply the front brake and rock the bike forwards and backwards, if you hear or feel clicking noise then it is very likely that your headset is loose.
To fix this minor issue, merely loosen off the stem bolts slightly, pull the front wheel towards you and keep a good hold of it as you gently tighten the top cap bolt (only tighten it to the point where you have to start using a bit of force to get it tighter) and then finish it off by torquing up your stem bolts again. In the process, your bars may slightly come out of alignment with your front wheel so just double check that everything is straight again.
9. Front Wheel
This check is quite simply the same as the check you do with the back wheel. Make sure that the quick release system is tight and in the closed position, check the spokes and make sure there aren’t any snapped ones or significantly loose ones followed by a check of the front tyre PSI. If your wheel isn’t a quick release wheel and has bolts on either side, make sure the bolts are securely clamped against the side of the fork.
10. Frame
After finishing the generic ‘M’ check, the final step is to just give your frame a quick lookover especially in the fragile welded areas to make sure there are no cracks starting to form. The usual places to check are near the lower headset casing (near the fork) and around the bottom bracket.
Completing this easy 10 step check before any ride will prevent you getting stranded with a broken bike miles from home or even worse… falling off! The majority of the time, your bike will be good to go but don’t risk it… make your bike safety check a part of your ride.